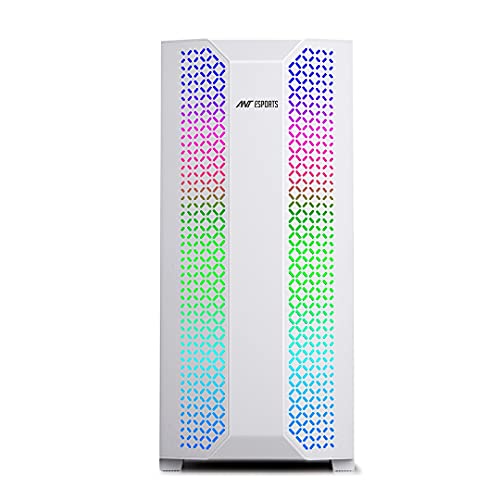
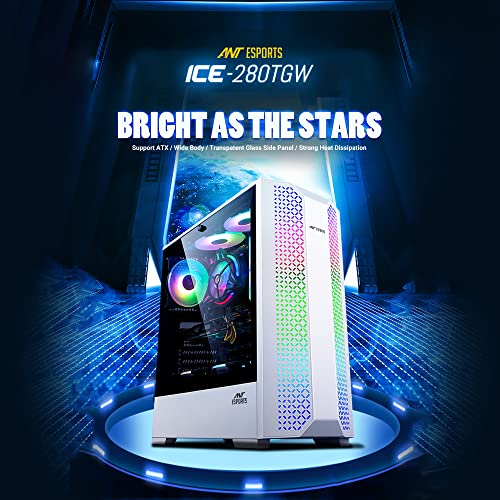
Ant Esports ICE-280TGW Mid Tower Computer Case I Gaming Cabinet -White Supports ATX, Micro-ATX, Motherboard with Transparent Side Panel 1 x 120 mm…
Original price was: ₹4,499.00.₹3,555.00Current price is: ₹3,555.00.
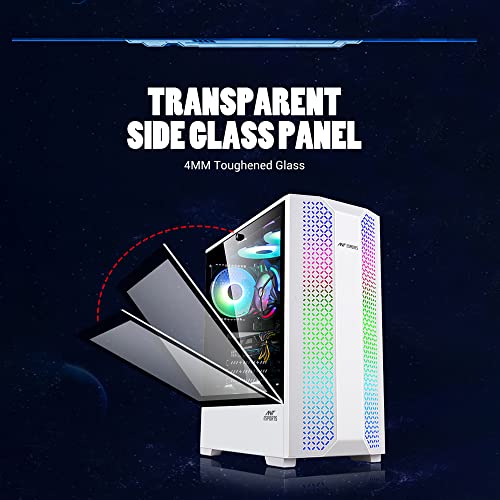
- White, Mid Tower, 365 x 205 x 440mm, Transparent Side Pane
- 7 Expansion Slots, 2 x 3.5” Drive Bay, 2 x 2.5” Drive Bay
- 1 x USB 3.0, 2 x USB 2.0, 1 x Audio In, 1 x Mic, Restart Button
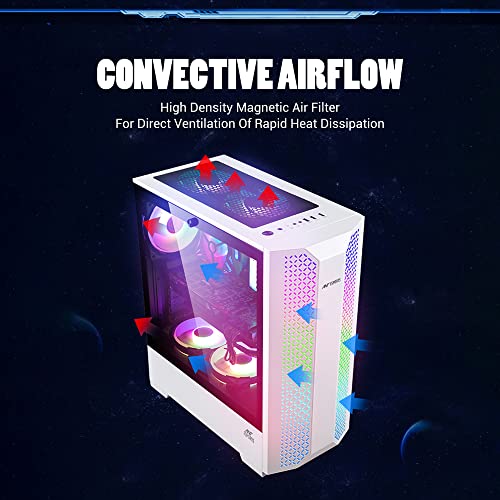
- Pre-Installed 1 x 120 mm Rear Fan, Fan Support : 3 x 120mm Front, 2 x 120mm Top, 1 x 120 mm Rear, 2 x 120mm Bottom
- 2 x HDD, 2 x SSD, VGA Card : 335mm, CPU Cooler Height : 150mm
,
Specification: Ant Esports ICE-280TGW Mid Tower Computer Case I Gaming Cabinet -White Supports ATX, Micro-ATX, Motherboard with Transparent Side Panel 1 x 120 mm…
|
8 reviews for Ant Esports ICE-280TGW Mid Tower Computer Case I Gaming Cabinet -White Supports ATX, Micro-ATX, Motherboard with Transparent Side Panel 1 x 120 mm…
Add a review

Original price was: ₹4,499.00.₹3,555.00Current price is: ₹3,555.00.




Vin Bahree –
+’s:
1. Quite a handsome looker.
2. Three supplied fans at front are Auto RGB and LED can be either turned off or can choose from predifined patterns by using LED switch on the case.
-‘s:
1. Simply It can’t accomodate any AIO on top as the clearance on top from the MB is barly 25mm and its thin case so fans do sit on top of the MB. Only 2 x 120mm fans can be fitted.
2. The PSU shroud is too long which hinders with AIO hoses. Have somehow managed 360 AIO at front by palcing the hoses on the Radiator at the bottom to eliminate air getting into the pump.
3. Air flow of the supplied fans is quite good but fins do accumulate dust a lot.
4. Ant eSports claims 2 x 2.5 SSD/HDD can be mounted at the back of the MB Mmetal sheet which is misleading as the case has big holes but no mounting mechanism is provided.
4. Very thin metal sheets and flexes a lot during assembly
but once all done its a good looker.
Finally worth buying if the price is around 3k and the plan is to have a Air cooler (can accomodate upto 170mm tall).
My System:
R5 7600x
Tuf B650M plus Wifi
DeepCool L360 AIO
DQ850-M-V2L Modular PSU
Nitro+ RX 6950 XT GPU
500GB Crucial P3
1TB Crucial P3
500GB 2.5 SSD
1TB 3.5 HDD
Add On Fans : Top 2, Rear 1 (DeepCool CF120 ARGB)
Now Moved on to Asus P201 BLK (TG)
Sanket Patil –
Case is good and perfect
Darshan hegde –
Best worth for money you pay
However not a great cabinet for m-atx boards as you may probebly find it hard to add a liquid aio on top as space is conjusted…
Best cabinet if you are looking for good airflow…
You may need some additional connectors for connecting those argb fans.
Overall its great cabinet with good airflow and asthetics
Piyush M. –
Meet my expectations, Decent build quality. Customizable. Easy for cable management.
Mutiple connectivity options for RGB Led and Fan.
Can change colour and mode of RGB lights using Reset switch (optional).
3 directional Airflow intake and rear exhaustion. More room for airflow.
I’m using Ant Esports PSU, CPU Cooler, SSD, Keyboard and mouse too.
All are working 👌
NARAYAN MANNA –
1. Build Quality –10/10
2. Looking –8/10
3. Air Circulation — 10/10
4. Space for Future — 10/10
MSP!… –
This product is a decent one but build quality is little bit cheap and I got a damaged one front panel was detached from one side but was too lazy to return it and wait for another 5 days to assemble my pc the RGB lights are very good and the glass panel is also good but very fragile be careful while placing it overall a little above average product.
Adithya –
The media could not be loaded.
Really very good cabinet at this price. RGB lights are very good. Transitions are also good. Best cabinet at this price range.
Adithya –
The best case for this price point
Pros:
1)Rgb colors are cool.
1)Tempered glass.
2) Looks premium and material used for the metal parts are good.
3) Big case with good airflow.
Cons:
1) Case comes with only one fan at the back
2) Was actually scared about the front panel removal to install fans in the front because the material used is mediocre. (Check instructions below on how to remove front panel because you can’t find it anywhere)
3) Little bit more space for cable management would have been nice.
For people who wants to install additional fans in the front follow the below steps:
1) Clearly check how the front panel is mounted by the plastic panel holders in the sides of the case when viewing from the back.Check for lenght of the wire from the rgb strip in the front.
2) Slowly apply slight pressure from the top and press the panel holders on both sides from the back and push the front panel edges with two hands on both sides.
3)The whole front panel should come out immediately if even pressure is applied on both sides when the top holders are detached ,if not slowly apply pressure to detach all the panel holders.
4) You can install upto max 2 * 120mm fans in the front.
5) After installation align the panel holders onto the respective slot and push from the bottom on both sides and apply even pressure on both sides along the lenght of the front panel.
Don’t rush any steps at it might damage the front panel and cause rgb strip problems and obviously lead to return issues etc.
Hope this helps !!!